Prep Time: 15 minutes | Cook Time: 12 minutes | Total Time: 27 minutes | Serves: 24 cookies | Difficulty: Easy
Table of Contents
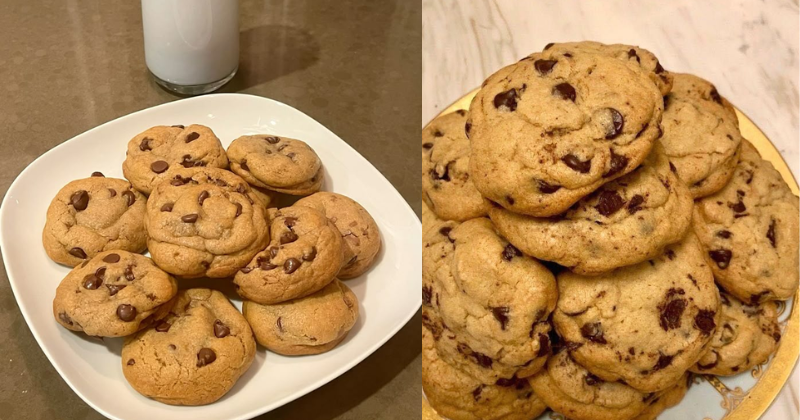
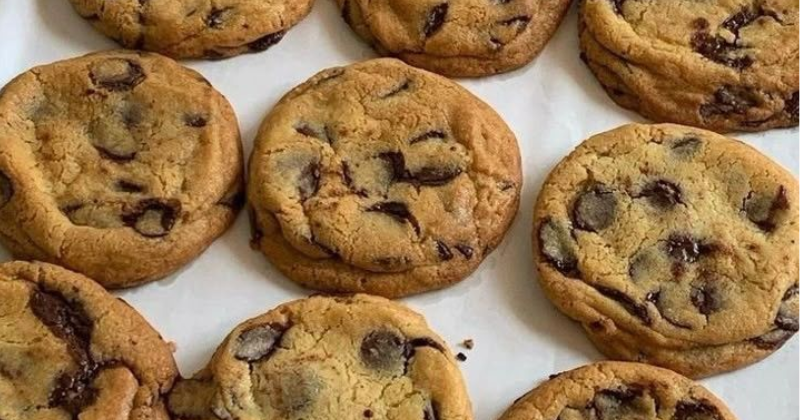
There’s something magical that happens when you bite into a cookie that perfectly balances the rich, nutty essence of peanut butter with chunks of creamy chocolate. Last summer, during my nephew’s birthday party, I watched a room full of sugar-rushed kids go completely silent after one bite of these Triple Reese’s Peanut Butter Cookies. That’s when I knew I had created something special. These aren’t just ordinary peanut butter cookies – they’re a triple-threat masterpiece that combines smooth peanut butter in the dough, chopped Reese’s peanut butter cups, and a final drizzle of melted chocolate that makes every bite an adventure. Whether you’re planning a family gathering, need the perfect bake sale contribution, or simply want to treat yourself to something extraordinary, these homemade cookies deliver pure happiness in every single bite.
Why You’ll Love This Recipe
These Triple Reese’s Peanut Butter Cookies aren’t just another dessert – they’re your ticket to becoming the family’s designated cookie hero. First, they’re incredibly easy to make, requiring no special equipment or advanced baking skills, making them perfect for both beginners and experienced bakers looking for a foolproof crowd-pleaser. The texture is absolutely divine – soft and chewy centers with slightly crispy edges that provide the perfect contrast in every bite. What makes these cookies truly special is their intense peanut butter flavor profile that hits you three different ways: the smooth richness from the dough, the chunky sweetness from the Reese’s pieces, and the final chocolate drizzle that ties everything together beautifully. They’re also incredibly family-friendly, appealing to kids and adults alike, making them ideal for birthday parties, school events, or holiday cookie exchanges. Plus, they stay fresh for days when stored properly, so you can make them ahead of time without sacrificing any of that incredible homemade taste.
Ingredient Insights & Selection
The secret to these extraordinary cookies lies in choosing the right ingredients and understanding their unique roles. Start with creamy peanut butter – I recommend name-brand options like Jif or Skippy for consistent results, as natural peanut butters can make the cookies too oily. For the Reese’s peanut butter cups, use the regular-sized ones and chop them into chunks rather than using the pre-chopped pieces, as fresh chunks maintain their shape better during baking and provide more satisfying texture contrasts. Your butter should be at room temperature – properly softened butter creams beautifully with sugars and creates that perfect chewy texture we’re after. When selecting brown sugar, choose light brown sugar for a subtle molasses flavor that complements rather than overwhelms the peanut butter. For those with dietary restrictions, you can substitute gluten-free flour in a 1:1 ratio, use dairy-free butter alternatives, and even swap regular Reese’s for dark chocolate peanut butter cups. Fresh eggs are crucial for binding and structure, so check your expiration dates. Store your peanut butter cups in the refrigerator until ready to use – they’ll chop more cleanly when cold and won’t melt as quickly when folded into the warm dough.
Key Techniques & Method Overview
Mastering these cookies requires understanding four essential techniques that separate good cookies from absolutely spectacular ones. The creaming method is your foundation – beat butter and sugars together for a full 3-4 minutes until the mixture becomes light and fluffy, which incorporates air for tender cookies and properly dissolves the sugars for even sweetness distribution. Temperature control is critical at every stage: room temperature ingredients blend more easily, while chilling your formed cookie dough for at least 30 minutes prevents excessive spreading and helps maintain those perfect thick edges. The folding technique for incorporating Reese’s chunks requires a gentle hand – overmixing at this stage can break down the chocolate pieces and create tough cookies, so use a wooden spoon or spatula to carefully fold them in until just distributed. Finally, understanding your oven’s hot spots and baking patterns is crucial for even results. Rotate your cookie sheets halfway through baking, and remember that cookies continue cooking on the hot pan even after removal from the oven, so slight underbaking ensures that perfect chewy center. Visual cues are more reliable than timers – look for set edges with centers that still appear slightly soft and underdone.
Step-by-Step Instructions
- Prepare your workspace and preheat your oven to 350°F (175°C). Line two large baking sheets with parchment paper and set aside. Chop 1½ cups of Reese’s peanut butter cups into chunky pieces, keeping them refrigerated until ready to use.
- Create the perfect base by creaming ½ cup softened butter, ½ cup creamy peanut butter, ½ cup granulated sugar, and ½ cup packed light brown sugar in a large bowl using an electric mixer on medium speed for 3-4 minutes until light and fluffy.
- Add binding ingredients by beating in one large egg and 1 teaspoon vanilla extract until completely incorporated, scraping down bowl sides as needed to ensure even mixing.
- Combine dry ingredients in a separate bowl: whisk together 1¼ cups all-purpose flour, ½ teaspoon baking soda, and ½ teaspoon salt until evenly distributed.
- Form the dough by gradually mixing the flour mixture into the peanut butter mixture on low speed until just combined – don’t overmix. Gently fold in the chopped Reese’s pieces using a wooden spoon until evenly distributed throughout the dough.
- Shape and chill by rolling dough into 1½-inch balls and placing them 2 inches apart on prepared baking sheets. Refrigerate formed cookies for 30 minutes to prevent excessive spreading.
- Bake to perfection for 10-12 minutes until edges are set but centers still look slightly soft. The cookies should have a golden appearance around the edges while maintaining a soft center appearance.
- Cool and finish by letting cookies rest on the baking sheet for 5 minutes before transferring to a wire rack. Once completely cool, drizzle with melted chocolate for that final triple-threat touch.
Pro Tips & Troubleshooting
The difference between good cookies and bakery-quality masterpieces lies in these insider secrets that professional bakers swear by. Always measure your flour correctly by spooning it into the measuring cup and leveling off – packed flour creates dense, heavy cookies that lack that perfect tender crumb. If your cookies are spreading too much, your butter was likely too warm or your dough wasn’t chilled long enough; next time, ensure butter is just softened (not melted) and always chill formed cookies before baking. For extra-thick cookies, slightly underbake them and let the residual heat from the pan finish the cooking process – they’ll continue setting up as they cool. When your cookies turn out too dry or crumbly, it usually means too much flour or overbaking; reduce flour by 2 tablespoons next time and watch your timing carefully. The secret to evenly melted chocolate drizzle is using the microwave in 30-second intervals, stirring between each heating, and letting the chocolate cool slightly before drizzling so it doesn’t immediately melt into the cookies. If your Reese’s pieces are melting too much during baking, freeze them for 15 minutes before folding into the dough.
Variations & Customizations
Transform these already incredible cookies into personalized masterpieces with these creative adaptations. For a gluten-free version, substitute the all-purpose flour with a 1:1 gluten-free baking blend and add an extra ¼ teaspoon of xanthan gum for structure. Create a dairy-free option by using vegan butter and dairy-free chocolate chips instead of Reese’s cups. Double the chocolate intensity by adding ½ cup mini chocolate chips along with the Reese’s pieces. For a seasonal twist, incorporate crushed pretzels for a sweet-salty combination that’s perfect for game day gatherings. Make them extra indulgent by sandwiching vanilla ice cream between two cookies for the ultimate summer treat. Scale the recipe up by doubling all ingredients for large gatherings – the dough actually handles doubling beautifully without any adjustments to technique. For a more sophisticated flavor profile, try using crunchy peanut butter instead of smooth for added texture contrast throughout each bite.
Storage, Reheating & Make-Ahead Tips
Proper storage ensures these cookies maintain their perfect texture and flavor for maximum enjoyment. Store completely cooled cookies in an airtight container at room temperature for up to one week, placing parchment paper between layers to prevent sticking. For longer storage, freeze baked cookies in freezer-safe containers for up to three months – they thaw beautifully at room temperature in about 30 minutes. The cookie dough can be made ahead and refrigerated for up to three days or frozen for up to three months; simply thaw frozen dough overnight in the refrigerator before baking. For make-ahead convenience, form cookies into balls and freeze them on baking sheets, then transfer to freezer bags once solid – bake directly from frozen, adding 1-2 extra minutes to the baking time. To refresh day-old cookies, warm them in a 300°F oven for 3-5 minutes to restore that fresh-baked texture and activate the chocolate flavors.
Serving Suggestions & Pairings
These Triple Reese’s Peanut Butter Cookies shine in countless serving situations, from casual family dinners to elegant dinner parties. Serve them warm with a tall glass of cold milk for the classic combination that never disappoints, or pair them with vanilla ice cream for an elevated dessert experience. For adult gatherings, they’re surprisingly delicious with a robust coffee or even a glass of red wine – the chocolate and peanut butter flavors complement darker beverages beautifully. Create an impressive dessert platter by arranging them alongside fresh strawberries and whipped cream for color contrast and palate cleansing. During holiday celebrations, package them in decorative tins as thoughtful homemade gifts that show you care. For children’s parties, set up a cookie decorating station with additional melted chocolate, sprinkles, and chopped nuts for interactive fun. They also make exceptional ice cream sandwich cookies – simply soften your favorite ice cream flavor and sandwich it between two cookies for an instant crowd-pleaser.
These Triple Reese’s Peanut Butter Cookies represent everything I love about home baking – they’re approachable enough for beginners yet sophisticated enough to impress the most discerning cookie enthusiasts. The combination of techniques, quality ingredients, and that extra touch of love creates something truly special that brings people together around the kitchen table. Give this recipe a try, and I guarantee you’ll have a new go-to treat that becomes a requested favorite at every gathering. Happy baking!