Prep Time: 15 minutes | Cook Time: 0 minutes | Total Time: 15 minutes | Serves: 4 | Difficulty: Easy
Table of Contents
I was rushing through another hectic Tuesday morning when my teenage son grabbed my arm and said, “Mom, can you teach me to make that amazing spinach wrap you packed in my lunch yesterday? My friends went crazy over it!” That moment stopped me in my tracks – not just because he’d actually eaten his vegetables without complaint, but because he was genuinely excited about a healthy lunch option. You see, this spinach wrap recipe started as my desperate attempt to sneak more greens into our family’s diet without the usual dinner table negotiations. What I discovered was pure magic: a combination so delicious and satisfying that even my pickiest eaters request it regularly. The secret lies in the perfect balance of creamy textures, fresh flavors, and that satisfying crunch that makes every bite irresistible. Today, I’m sharing this game-changing recipe that transforms simple ingredients into a nutritious meal that actually tastes indulgent while keeping you energized throughout the day.
Why You’ll Love This Spinach Wrap Recipe
This spinach wrap delivers everything you want in a perfect healthy meal – it’s incredibly easy to make, requiring zero cooking skills and minimal prep time, making it ideal for busy weekdays or lazy weekend lunches. The recipe is wonderfully family-friendly, appealing to both health-conscious adults and veggie-resistant kids who’ll be won over by the creamy, flavorful combination. You’ll love how nutrient-dense it is, packing an impressive amount of vitamins, minerals, and fiber into every satisfying bite without feeling heavy or overly virtuous. The make-ahead friendly nature means you can prep several wraps at once for grab-and-go convenience throughout the week. Unlike typical wraps that get soggy or fall apart, this recipe stays fresh and maintains perfect texture for hours, making it ideal for packed lunches, picnics, or office meals. The versatility is incredible – serve it as a light lunch, hearty snack, or even slice it into pinwheels for elegant appetizers. Most importantly, this wrap proves that healthy eating doesn’t require sacrificing flavor or satisfaction, creating a meal that nourishes your body while delighting your taste buds.
Ingredient Insights & Selection Guide
Creating an exceptional spinach wrap starts with selecting the freshest ingredients and understanding how each component contributes to the final delicious result. Fresh baby spinach is crucial – look for bright green leaves without yellowing or wilting, and always wash thoroughly even if the package claims it’s pre-washed. The tortilla serves as your foundation, so choose large flour tortillas that are soft and pliable; whole wheat versions add extra fiber and nutty flavor. Cream cheese provides the binding agent that holds everything together while adding richness – use full-fat versions for the best texture and flavor, though reduced-fat works well too. Fresh vegetables like cucumber, bell peppers, and tomatoes add essential crunch and freshness; choose firm, unblemished produce for the best results. Red onion provides a sharp flavor contrast, but if it’s too strong, soak thin slices in cold water for 10 minutes to mellow the bite. For protein additions, consider turkey, chicken, or plant-based options like hummus or avocado. Cheese selection matters – feta adds tangy saltiness, while shredded cheddar provides familiar comfort. For dietary needs, gluten-free tortillas work beautifully, and dairy-free cream cheese alternatives maintain the creamy texture. Store fresh spinach in the refrigerator and use within 3-5 days for optimal freshness and nutrition.
Key Techniques & Method Overview
Mastering the perfect spinach wrap requires understanding several essential techniques that ensure both structural integrity and optimal flavor distribution. The layering technique forms the foundation – spreading ingredients in the correct order prevents sogginess while ensuring every bite contains the perfect balance of flavors. Start with your binding agent (cream cheese) as a moisture barrier, then add sturdy vegetables before delicate greens. The spreading method requires gentle, even pressure to avoid tearing the tortilla while creating complete coverage that reaches the edges. Temperature control is subtle but important – room temperature ingredients blend more easily and won’t shock cold tortillas into cracking. The moisture management technique prevents the dreaded soggy wrap disaster – pat all vegetables completely dry and avoid overly juicy tomatoes or cucumbers. Layer absorbent ingredients like spinach strategically to create natural barriers. The rolling technique requires patience and proper hand positioning – keep filling toward the center while maintaining steady, gentle pressure to create a tight roll without bursting. Visual cues include even distribution of colors and textures, with no gaps or air pockets that could lead to structural failure. The resting method allows flavors to meld and the wrap to set properly, making slicing cleaner and eating more enjoyable.
Step-by-Step Instructions
Step 1: Begin by laying one large flour tortilla flat on a clean work surface. Using a butter knife or offset spatula, spread 2-3 tablespoons of softened cream cheese evenly across the entire surface, leaving about a ½-inch border around the edges. This creates a moisture barrier that prevents sogginess.
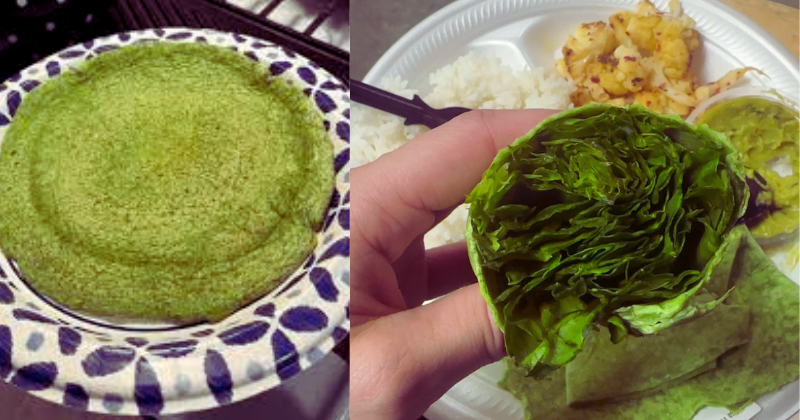
Step 2: Layer 1-2 cups of fresh baby spinach leaves evenly over the cream cheese, pressing gently to help them adhere. The spinach should cover most of the surface but not be so thick that rolling becomes difficult. Pat the leaves dry with paper towels if they seem wet.
Step 3: Add your chosen vegetables in thin, even layers. Arrange ¼ cup thinly sliced cucumber, 2-3 thin tomato slices (seeds removed), and a few rings of red onion across the spinach. Keep vegetables toward the center to prevent them from falling out during rolling.
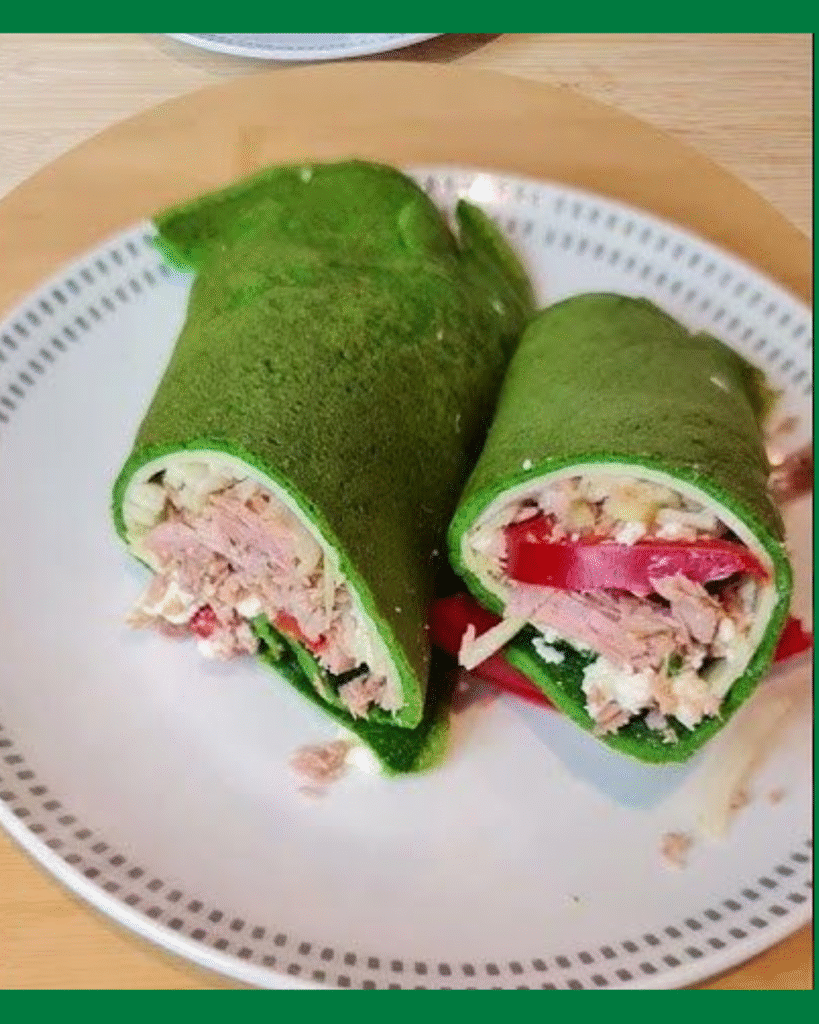
Step 4: If using cheese, sprinkle ¼ cup crumbled feta or shredded cheese evenly over the vegetables. For protein additions, place 2-3 thin slices of turkey or chicken in a single layer. Season lightly with salt and freshly ground black pepper to taste.
Step 5: Starting from the bottom edge closest to you, begin rolling the tortilla tightly but gently. Keep the filling pressed toward the center with your fingers while using your thumbs to guide the tortilla over and around the filling. Continue rolling steadily, maintaining even pressure.
Step 6: Once completely rolled, place the wrap seam-side down on a cutting board. Let it rest for 2-3 minutes to set, then use a sharp knife to slice diagonally in half or into 1-inch pinwheels for appetizers. Clean your knife between cuts to maintain neat edges and prevent dragging.
Pro Tips & Troubleshooting Secrets
Professional sandwich makers rely on these insider techniques to create spinach wraps that maintain perfect structure and flavor balance every time. Always bring tortillas to room temperature before rolling – cold tortillas crack easily and don’t roll as tightly. If your tortillas seem dry or brittle, warm them briefly in the microwave (10-15 seconds) or in a dry skillet to restore flexibility. The secret to preventing soggy wraps is the double moisture barrier technique – spread cream cheese first, then add a layer of lettuce or spinach before wetter ingredients. Remove seeds from tomatoes and cucumbers to eliminate excess moisture. If your wrap keeps unrolling, secure it with toothpicks before slicing, removing them just before serving. For tighter rolls, slightly dampen the final edge of the tortilla with water to help it seal. Room temperature cream cheese spreads more easily – take it out 30 minutes before assembly or soften briefly in the microwave. If ingredients keep sliding out, you’re likely overfilling – less is more for structural integrity. The cleanest slices come from using a very sharp knife in a swift, confident motion rather than sawing back and forth.
Variations & Customizations
Transform your basic spinach wrap into exciting flavor adventures with simple ingredient swaps and creative additions. Create a Mediterranean version using hummus instead of cream cheese, adding olives, sun-dried tomatoes, and feta cheese for authentic flavors. For a Mexican twist, use pepper jack cheese, avocado, salsa, and cilantro with a lime-seasoned cream cheese base. Make it protein-packed by adding grilled chicken, turkey, or hard-boiled eggs for a more substantial meal. Vegetarians love the combination of roasted red peppers, artichoke hearts, and goat cheese for gourmet appeal. For dairy-free versions, substitute with avocado or hummus as your binding agent. Create breakfast wraps using scrambled eggs, cheese, and sautéed spinach. Individual serving sizes work perfectly, or make larger wraps for sharing by using burrito-sized tortillas and doubling the filling ingredients.
Storage, Reheating & Make-Ahead Tips
Your spinach wrap stores exceptionally well when properly prepared and wrapped, making it perfect for meal prep and grab-and-go convenience. Individual wraps should be tightly wrapped in plastic wrap or aluminum foil and refrigerated for up to 3 days maximum for best quality and food safety. The key to maintaining freshness is preventing air exposure and moisture loss. For make-ahead preparation, assemble wraps the night before serving, but add delicate ingredients like tomatoes just before eating to prevent sogginess. These wraps are best served cold or at room temperature – reheating isn’t recommended as it wilts the spinach and makes vegetables soggy. For longer storage, freeze assembled wraps for up to 1 month, though texture will change slightly upon thawing. Thaw frozen wraps in the refrigerator overnight before serving. Pre-prep ingredients can be stored separately for up to 5 days, allowing for quick assembly when needed.
Serving Suggestions & Pairings
Present your beautiful spinach wrap on a colorful plate with fresh fruit slices or vegetable sticks for a complete, balanced meal that’s both nutritious and visually appealing. Classic accompaniments include baked sweet potato chips, fresh berries, or a small side salad for extra vegetables. For heartier appetites, serve alongside a cup of soup – tomato basil or vegetable soup complement the fresh flavors perfectly. These wraps work beautifully for picnics and outdoor dining, maintaining their structure and flavor even without refrigeration for a few hours. Cut into pinwheels, they become elegant appetizers for parties or gatherings. For beverage pairings, try sparkling water with lemon, iced herbal tea, or fresh juice. The wraps are substantial enough to serve as a complete lunch but light enough for a satisfying snack that won’t leave you feeling heavy or sluggish.
Ready to create the most delicious spinach wrap that’ll revolutionize your approach to healthy eating? Gather your freshest ingredients, clear some counter space, and prepare to discover why this simple recipe has become our family’s go-to meal for everything from rushed school mornings to leisurely weekend lunches. Once you master this technique, you’ll never look at lunch the same way again!