
Prep Time: 45 minutes | Cook Time: 55 minutes | Total Time: 1 hour 40 minutes | Serves: 8 | Difficulty: Intermediate
Table of Contents
There’s something magical about the first bite of a perfectly baked sweet cherry pie—the way the flaky, golden crust gives way to those ruby-red cherries bursting with summer sweetness. I’ll never forget my grandmother’s cherry pie, made from the ancient cherry tree in her backyard. Every July, we’d climb those branches together, our fingers stained purple, competing to see who could pick the sweetest cherries. That sweet cherry pie became the centerpiece of every family gathering, and now, decades later, I’m thrilled to share this beloved recipe that captures all those precious memories in every single bite. Whether you’re a seasoned baker or just starting your pie-making journey, this comprehensive guide will help you create a sweet cherry pie that’s worthy of your own family traditions.
Why You’ll Love This Sweet Cherry Pie Recipe
This isn’t just any ordinary cherry pie—it’s a masterpiece that balances tart and sweet flavors in perfect harmony. First, this recipe uses fresh sweet cherries that create an incredible depth of flavor you simply can’t achieve with canned fillings. The homemade pie crust is surprisingly easy to master, requiring just a few simple ingredients and basic techniques that even beginner bakers can confidently tackle.
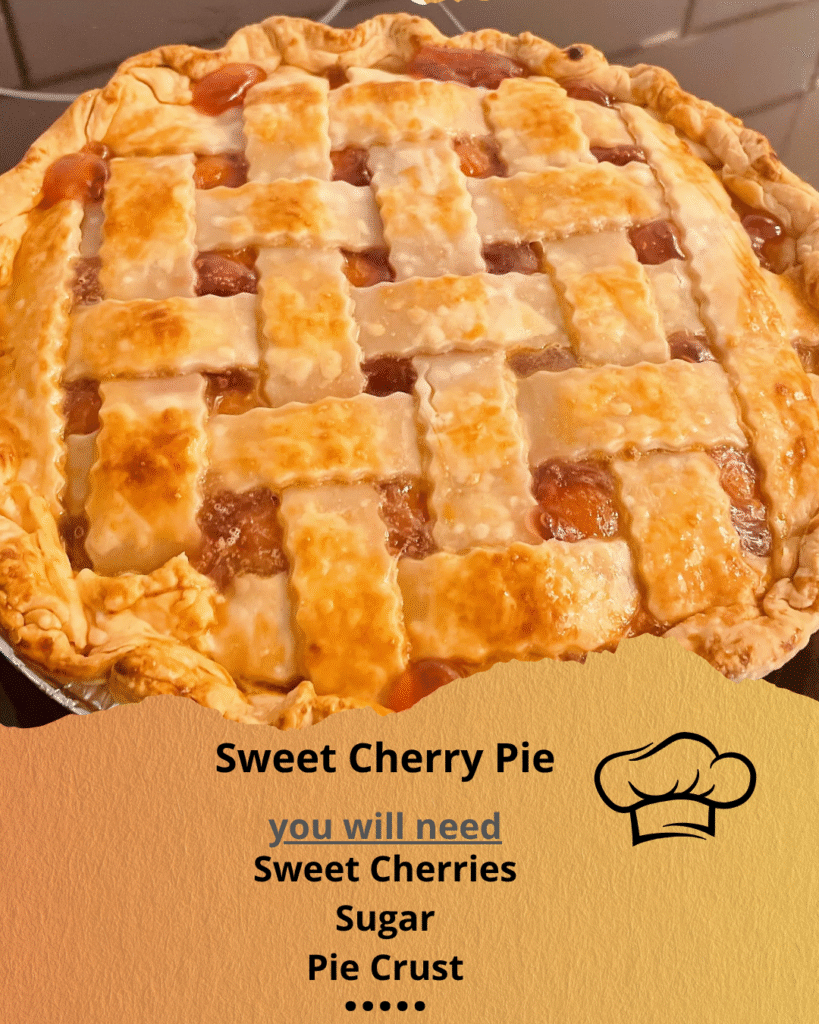
What makes this sweet cherry pie truly special is its versatility—it’s equally stunning as a weeknight family dessert or an elegant dinner party finale. The recipe is completely family-friendly, with no complicated techniques or expensive specialty equipment required. Plus, you can easily customize the sweetness level to suit your preferences, making it perfect for both cherry lovers and those who prefer milder flavors. The visual appeal is absolutely stunning too—that gorgeous lattice crust showcasing the jewel-toned cherries creates an Instagram-worthy dessert that tastes even better than it looks.
Ingredient Insights & Selection Guide
The star of this sweet cherry pie is undoubtedly the cherries themselves—you’ll need about 2½ pounds of fresh sweet cherries, which typically yields 5-6 cups once pitted. Look for firm, plump cherries with bright, glossy skin and green stems that aren’t dried out. Bing, Rainier, or Royal Ann varieties work beautifully, each offering their own unique flavor profile.
For the perfect pie crust, use cold unsalted butter and ice water—this temperature contrast creates those coveted flaky layers. All-purpose flour forms the foundation, while a touch of sugar and salt enhances flavor. The filling requires cornstarch or tapioca starch for thickening, granulated sugar (adjust based on your cherries’ natural sweetness), and a hint of almond extract that beautifully complements the cherry flavor.
If fresh cherries aren’t available, frozen sweet cherries work wonderfully—just thaw and drain them thoroughly first. For dietary modifications, you can substitute the butter with cold vegan butter alternative, or use gluten-free flour blend for the crust. Store fresh cherries in the refrigerator and use within a week for optimal flavor and texture.
Essential Techniques & Method Overview
Mastering sweet cherry pie requires understanding four key techniques that separate good pies from extraordinary ones. First, proper crust preparation is crucial—keeping ingredients cold, avoiding overmixing, and allowing adequate chilling time creates the perfect texture. The butter should be cut into the flour mixture until it resembles coarse crumbs with some pea-sized pieces remaining, which creates steam pockets during baking for ultimate flakiness.
Second, cherry preparation involves careful pitting and maceration. After pitting, toss the cherries with sugar and let them sit for 30 minutes—this draws out natural juices that, when combined with cornstarch, create the perfect pie filling consistency. The mixture should coat the back of a spoon but not be overly thick.
Third, assembly technique matters tremendously. Roll the bottom crust evenly, leaving a slight overhang, then add the cherry filling without overpacking. The top crust should be rolled to the same thickness, and whether you choose a traditional top crust with steam vents or an elegant lattice design, proper sealing prevents juice leakage.
Finally, baking temperature control ensures even cooking. Start at a higher temperature (425°F) for the first 15 minutes to set the crust, then reduce to 375°F to cook the filling thoroughly without over-browning the crust. The pie is finished when the crust is golden brown and filling bubbles vigorously in the center—typically 45-50 minutes total baking time.
Step-by-Step Instructions
- Prepare the crust: In a large bowl, whisk together 2½ cups all-purpose flour, 1 teaspoon salt, and 1 tablespoon sugar. Cut 1 cup cold unsalted butter into small cubes and add to flour mixture. Using a pastry cutter or your fingertips, work the butter into the flour until mixture resembles coarse crumbs with some pea-sized butter pieces. Gradually add 6-8 tablespoons ice water, mixing gently until dough just comes together. Divide into two discs, wrap in plastic, and refrigerate for at least 1 hour.
- Prepare the filling: Pit 2½ pounds sweet cherries and place in a large bowl. Add ¾ cup granulated sugar, ⅓ cup cornstarch, 1 tablespoon lemon juice, ½ teaspoon almond extract, and ¼ teaspoon salt. Toss gently and let macerate for 30 minutes, allowing natural juices to develop.
- Assemble the pie: Preheat oven to 425°F. Roll out bottom crust on a floured surface to 12-inch circle. Transfer to 9-inch pie pan, leaving 1-inch overhang. Pour cherry filling into crust, distributing evenly. Dot with 2 tablespoons butter pieces.
- Add top crust: Roll second dough disc and place over filling. Trim excess, leaving ½-inch overhang. Fold edges under and crimp decoratively. Cut 6-8 steam vents in top crust, or create a lattice pattern for visual appeal.
- Bake to perfection: Brush crust with beaten egg and sprinkle with coarse sugar. Bake at 425°F for 15 minutes, then reduce to 375°F and continue baking 30-40 minutes until crust is golden brown and filling bubbles in center. If edges brown too quickly, cover with foil strips.
- Cool completely: Transfer to wire rack and cool for at least 3 hours before slicing. This allows the filling to set properly and prevents a runny pie.
Pro Tips & Troubleshooting Secrets
The secret to bakery-quality sweet cherry pie lies in these insider techniques that professional bakers swear by. First, always blind-bake your bottom crust for 10 minutes if you’re concerned about sogginess—this creates a moisture barrier that keeps the crust crisp. Second, add a tablespoon of instant tapioca along with cornstarch for extra thickening power and a glossy, professional-looking filling.
Temperature is your best friend—use a thermometer to ensure your filling reaches 175°F in the center, which guarantees proper thickening. If your crust edges are browning too quickly, create foil shields by cutting the center out of aluminum foil and placing it over the pie rim. For the glossiest finish, brush the crust with heavy cream instead of egg wash.
If your pie filling seems too runny after baking, don’t panic—it often continues thickening as it cools. However, if it’s still loose after complete cooling, you can strain the juices, boil them down to concentrate, then recombine. To prevent overflow, always place your pie on a baking sheet lined with parchment paper to catch any errant drips.
Creative Variations & Customizations
Transform your basic sweet cherry pie into exciting variations that suit different tastes and dietary needs. For a delightfully tart twist, substitute half the sweet cherries with sour cherries and adjust sugar accordingly. Create a rustic cherry-almond pie by adding ½ cup sliced almonds to the filling and using almond extract instead of vanilla.
For gluten-free versions, substitute with a high-quality gluten-free flour blend that contains xanthan gum—the texture will be nearly identical to traditional crust. Dairy-free adaptations work beautifully using cold vegan butter alternatives; just ensure they’re specifically designed for baking.
Seasonal variations include adding diced peaches in late summer for a cherry-peach combination, or incorporating fresh basil leaves for an unexpected herb note that complements the cherry sweetness beautifully. To scale the recipe, simply multiply all ingredients proportionally—this recipe doubles perfectly for larger gatherings, or can be halved for a smaller 8-inch pie.
Storage, Reheating & Make-Ahead Magic
Proper storage ensures your sweet cherry pie maintains its quality for days after baking. Store covered at room temperature for up to 2 days, or refrigerate for up to 5 days—though the crust may soften slightly when refrigerated. For longer storage, freeze the baked pie for up to 3 months, wrapping tightly in plastic wrap and aluminum foil.
To reheat refrigerated pie, place in a 350°F oven for 10-15 minutes until warmed through. Frozen pie slices can be reheated directly from frozen at 350°F for 20-25 minutes. For make-ahead convenience, assemble the entire pie and freeze unbaked for up to 2 months—bake directly from frozen, adding 15-20 extra minutes to the cooking time.
The pie crust dough can be prepared up to 3 days ahead and refrigerated, or frozen for up to 3 months. Cherry filling can be prepared a day in advance and stored in the refrigerator, making final assembly quick and effortless when you’re ready to bake.
Perfect Serving Suggestions & Pairings
Sweet cherry pie shines brightest when paired with complementary flavors and textures that enhance its natural beauty. Classic vanilla ice cream remains the gold standard, but consider trying honey-lavender ice cream or cinnamon gelato for sophisticated variations. A dollop of freshly whipped cream lightly sweetened with powdered sugar creates an elegant presentation.
For beverage pairings, strong black coffee beautifully balances the sweetness, while dessert wines like Moscato or Port create luxurious combinations. Fresh mint sprigs make gorgeous garnishes, and a light dusting of powdered sugar adds restaurant-quality visual appeal.
Create complete dessert experiences by serving alongside other summer treats—fresh berry salads, lemon cookies, or artisanal cheeses for wine-and-dessert parties. The pie’s stunning appearance makes it perfect for special occasions, holiday gatherings, or any time you want to create lasting memories around your dinner table.
Ready to create your own sweet cherry pie masterpiece? Gather those beautiful summer cherries and start building delicious memories that’ll last for generations. Your family will be requesting this recipe for years to come!