Prep Time: 30 minutes | Cook Time: 12 minutes | Total Time: 42 minutes | Serves: 12 (makes 24 halves) | Difficulty: Easy
Table of Contents
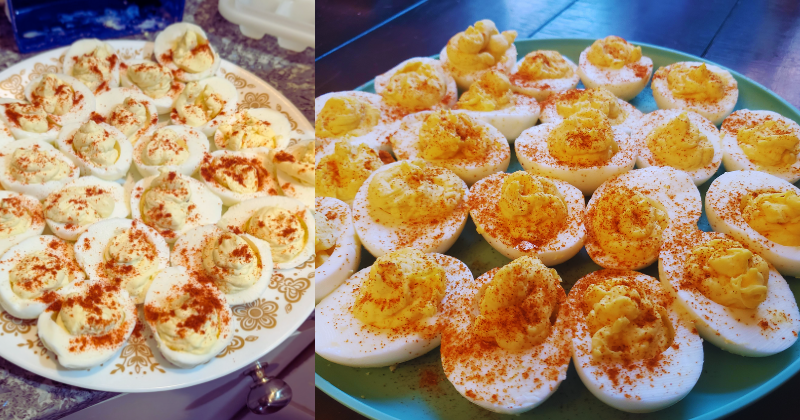
Every Easter Sunday growing up, my Aunt Betty would arrive at our family gathering carrying her famous oval platter piled high with the most gorgeous classic deviled eggs you’ve ever seen. They were perfectly piped, delicately seasoned, and always the first appetizer to disappear from the buffet table. I remember sneaking into the kitchen to watch her work her magic, carefully spooning out those golden yolks and transforming them into creamy, tangy perfection. The secret, she whispered to me one year, wasn’t just in the recipe – it was in the love and attention to detail. Today, I’m sharing that same time-honored method for creating deviled eggs that’ll have your guests raving and asking for the recipe. These aren’t just appetizers; they’re little bites of comfort food history that bring people together around the table.
Why You’ll Love This Classic Deviled Eggs Recipe
These classic deviled eggs represent everything wonderful about traditional comfort food – they’re incredibly easy to make, budget-friendly, and guaranteed to please every palate at your table. The recipe is completely foolproof, making it perfect for beginner cooks or anyone wanting stress-free entertaining. You’ll love how versatile they are, working beautifully for everything from casual picnics to elegant holiday gatherings. The homemade approach means you control every ingredient, avoiding the preservatives and artificial flavors found in store-bought versions while creating something infinitely more delicious. These eggs are naturally gluten-free and packed with protein, making them a healthier appetizer option that actually satisfies hunger. Most importantly, they’re incredibly family-friendly – even picky eaters gravitate toward these creamy, mild-flavored treats. The make-ahead nature means you can prepare them hours in advance, freeing up your time to focus on other dishes or simply enjoy your guests’ company.
Ingredient Insights & Selection Guide
The foundation of exceptional deviled eggs starts with choosing the right eggs and understanding how each ingredient contributes to the final result. Fresh eggs are actually harder to peel than eggs that are 7-10 days old, so plan accordingly when shopping. Large eggs work best for consistent sizing and attractive presentation. The mayonnaise forms the creamy base – use a high-quality brand like Hellmann’s or Duke’s for the richest flavor and smoothest texture. Yellow mustard provides the classic tangy bite, though Dijon can be substituted for a more sophisticated flavor profile. White vinegar adds brightness and helps balance the richness, while a touch of sugar rounds out any harsh acidic notes. Fresh paprika is essential for both flavor and the iconic garnish – Hungarian sweet paprika offers the most vibrant color and best taste. Salt and white pepper season without adding dark specks to the beautiful yellow filling. For dietary needs, vegan mayonnaise works surprisingly well, and Greek yogurt can replace half the mayo for a lighter version. Store eggs in the main body of your refrigerator, not the door, and always check expiration dates for food safety.
Key Techniques & Method Overview
Mastering classic deviled eggs requires perfecting four essential techniques that separate amateur attempts from professional-quality results. The hard-boiling technique is crucial – starting eggs in cold water and bringing them to a rolling boil, then immediately removing from heat and covering for exactly 12 minutes creates perfectly cooked yolks without the unsightly gray ring. The ice bath shock-cooling method stops the cooking process instantly, preventing overcooking while making peeling significantly easier. Temperature contrast is key here – the colder the ice water, the better your results will be. The yolk removal and mixing technique requires gentle handling to keep egg whites intact while creating the smoothest possible filling. Use a small spoon to carefully scoop out yolks, then push them through a fine-mesh sieve for ultimate smoothness before mixing with other ingredients. The piping or spooning technique for filling determines your final presentation – a piping bag with a star tip creates elegant, professional-looking results, while a simple spoon works perfectly for casual occasions. Timing is everything throughout this process, from the precise cooking time to allowing proper chilling before serving.
Step-by-Step Instructions
Step 1: Place 12 large eggs in a single layer in a heavy-bottomed saucepan and cover with cold water by about 1 inch. Bring to a rolling boil over high heat, then immediately remove from heat and cover tightly with a lid. Let stand for exactly 12 minutes – no more, no less, for perfect doneness.
Step 2: While eggs cook, prepare a large bowl of ice water. When the timer goes off, immediately transfer eggs to the ice bath using a slotted spoon. Let them cool completely for at least 10 minutes – this shock-cooling makes peeling much easier and prevents overcooking.
Step 3: Gently crack and peel eggs under cool running water, starting from the larger end where the air pocket is located. The shells should slip off easily if eggs are properly cooled. Pat dry with paper towels and slice each egg in half lengthwise using a sharp knife.
Step 4: Carefully remove yolks and place them in a medium mixing bowl. Arrange the pristine egg white halves on your serving platter. Using a fork or potato masher, mash yolks until completely smooth, then push through a fine-mesh sieve for ultimate creaminess.
Step 5: Add ⅓ cup mayonnaise, 1 teaspoon yellow mustard, 1 teaspoon white vinegar, ¼ teaspoon sugar, and salt and white pepper to taste. Mix until completely smooth and creamy – the consistency should be similar to frosting, pipeable but not too stiff.
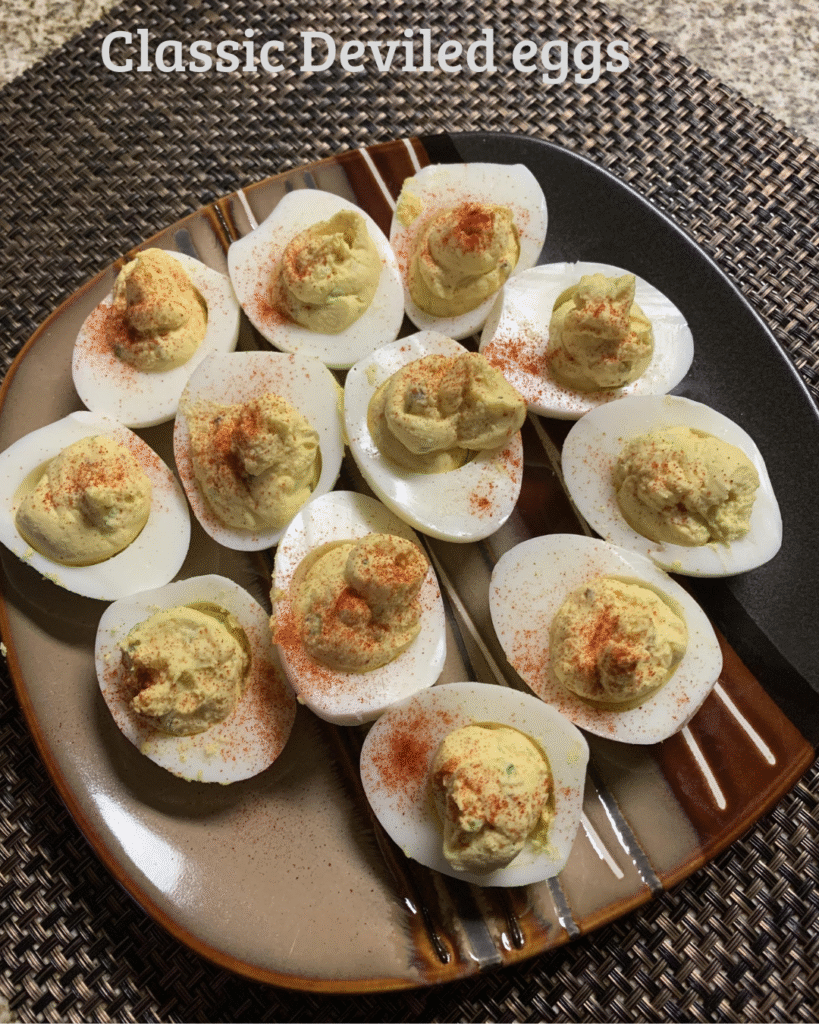
Step 6: Fill egg white halves using a piping bag fitted with a star tip, or simply spoon the mixture in for a more rustic look. Sprinkle lightly with paprika for color and flavor. Refrigerate for at least 30 minutes before serving to allow flavors to meld and filling to set properly.
Pro Tips & Troubleshooting Secrets
The secret to restaurant-quality deviled eggs lies in these insider techniques that professional chefs swear by. For the easiest peeling, add a tablespoon of baking soda to your cooking water – it helps break down the shell for effortless removal. If you’re struggling with tough-to-peel eggs, try rolling them gently on the counter before peeling to crack the shell all over. Temperature control is crucial – if your yolk mixture seems too thick, add mayonnaise one teaspoon at a time; if too thin, mash in an additional yolk. For the smoothest filling, pass everything through a food mill or use an immersion blender for just a few seconds. Prevent sliding eggs on your serving platter by trimming a tiny slice off the bottom of each white half to create a flat surface. If your eggs develop a green ring around the yolk, you’ve overcooked them – still safe to eat, but plan for shorter cooking time next batch. For professional presentation, use an offset spatula to smooth any rough edges on your piped filling.
Variations & Customizations
Transform your basic classic deviled eggs into exciting flavor adventures with these creative modifications. Create bacon deviled eggs by folding in crumbled crispy bacon and a touch of smoked paprika. For a Southern twist, add finely minced pickles and a dash of pickle juice for extra tang. Avocado deviled eggs incorporate mashed avocado into the yolk mixture for a healthier, creamier version. Make them spicy with a pinch of cayenne pepper or finely minced jalapeños. For elegant entertaining, try adding fresh herbs like chives, dill, or parsley. Dairy-free versions work perfectly using vegan mayonnaise, while those avoiding eggs entirely can create “deviled” avocado halves using similar seasonings. Double or triple the recipe easily for large gatherings, though you may need to work in batches when cooking eggs.
Storage, Reheating & Make-Ahead Tips
Classic deviled eggs store beautifully and actually improve in flavor when given time for the seasonings to meld together. Refrigerate completed eggs in an airtight container for up to 3 days, though they’re best enjoyed within 24 hours for optimal texture. Never leave deviled eggs at room temperature for more than 2 hours for food safety reasons. The yolk mixture can be prepared up to 2 days ahead and stored separately, then piped into whites just before serving. For transport, use a deviled egg carrier or place toothpicks around each egg and cover with plastic wrap to prevent sliding. These don’t freeze well due to the mayonnaise base, so plan to consume within the refrigerated timeframe. If the filling seems to separate after storage, simply stir gently to recombine before serving.
Serving Suggestions & Pairings
Present your deviled eggs on a beautiful platter garnished with fresh parsley sprigs and additional paprika for an elegant appetizer spread. They’re perfect alongside other Southern classics like fried chicken, potato salad, and coleslaw for authentic comfort food dining. For brunch gatherings, serve with fresh fruit, pastries, and mimosas for a delightful combination. These eggs complement charcuterie