Prep Time: 10 minutes/ Cook Time: 25 minutes/ Total Time: 35 minutes/ Difficulty Level: Easy/ Serves: 4-6 people
Table of Contents
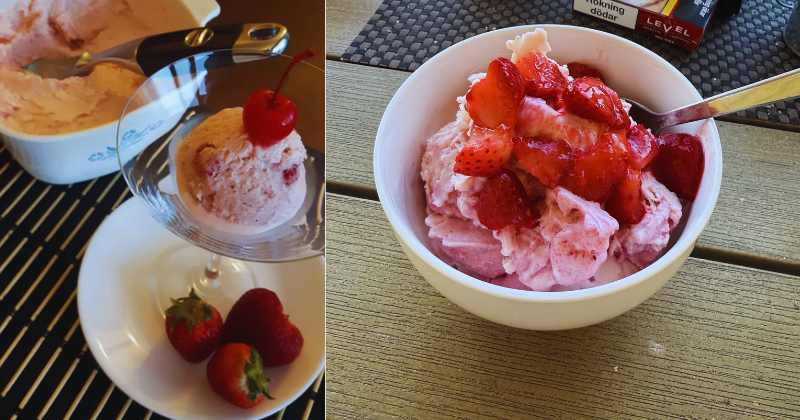
The first time I tasted my grandmother’s homemade strawberry ice cream, I was seven years old, standing barefoot in her sun-drenched kitchen on a sweltering July afternoon. She handed me that first spoonful from her ancient hand-crank freezer, and I swear time stopped. The cream was so rich it coated my tongue like velvet, while fresh strawberry chunks burst with sunshine-sweet flavor that no store-bought version has ever matched. That moment ignited my lifelong obsession with creating the perfect strawberry ice cream recipe – one that captures summer’s essence in every single bite. After decades of experimenting, testing, and perfecting, I’m thrilled to share the recipe that finally lives up to that childhood memory. This isn’t just dessert; it’s edible nostalgia that transforms ordinary strawberries into frozen magic.
Why You’ll Love This Homemade Ice Cream Recipe
Unbelievably Creamy and Rich: This easy homemade recipe creates ice cream with a luxurious, custard-like texture that melts perfectly on your tongue. Unlike commercial versions packed with stabilizers, this natural approach relies on proper technique and quality ingredients to achieve that coveted smooth, scoopable consistency.
Bursting with Fresh Strawberry Flavor: We’re talking real strawberries here – not artificial flavoring or mysterious “natural” additives. This family-friendly recipe celebrates peak-season berries, concentrating their natural sweetness while maintaining those delightful fruit pieces that provide textural excitement in every spoonful.
Completely Customizable: Whether you prefer chunks or smooth consistency, extra sweet or tart, this versatile base adapts to your preferences. You control every ingredient, making it perfect for dietary restrictions or simply creating your ideal flavor profile.
Budget-Friendly Summer Indulgence: Making strawberry ice cream at home costs a fraction of premium store-bought versions while delivering superior taste and quality. Plus, you’ll know exactly what’s in every scoop – no unpronounceable additives required.
Creates Lasting Family Memories: There’s something magical about homemade ice cream that brings families together, from berry picking adventures to the anticipation of that first taste. This recipe becomes a cherished tradition that kids remember forever.
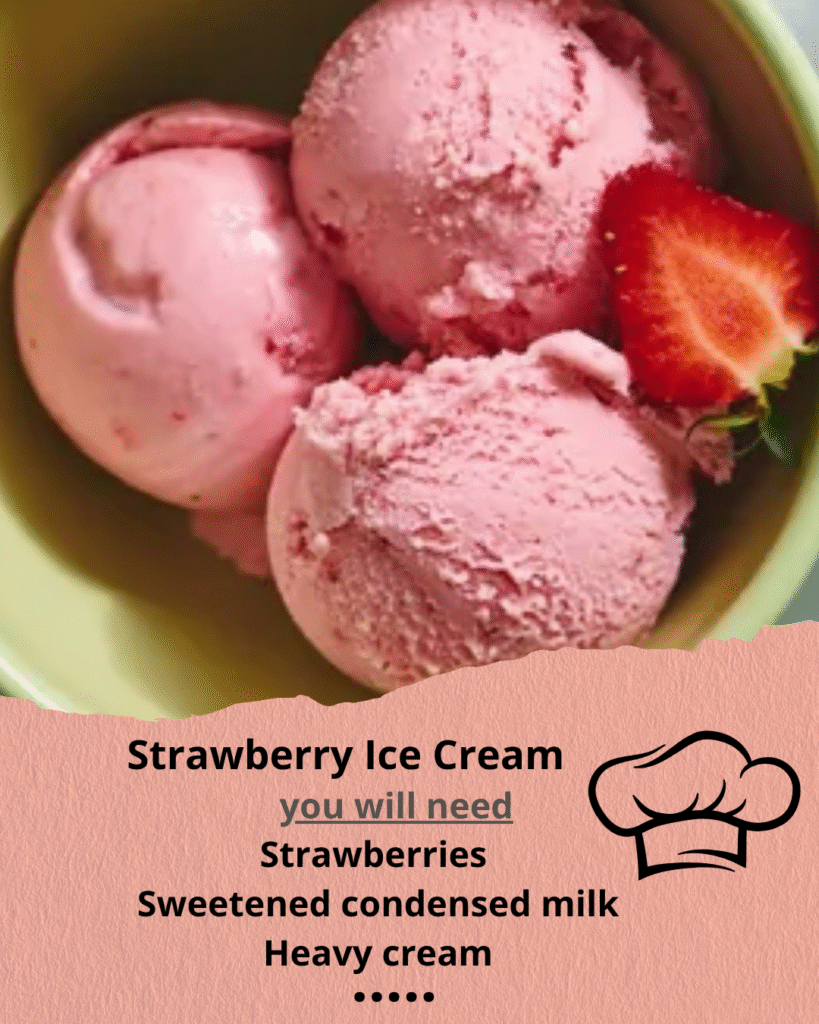
Essential Ingredient Insights and Selection Tips
Fresh strawberries are the undisputed stars of this recipe, and quality makes all the difference. Choose berries that are deep red throughout with bright green tops, avoiding any with white shoulders or soft spots. Peak strawberry season runs from late spring through early summer, when berries are naturally sweetest and most aromatic. You’ll need about 2 pounds of fresh strawberries to yield the 2 cups of puree this recipe requires.
Heavy cream provides the rich, luxurious mouthfeel that distinguishes homemade ice cream. Look for cream with at least 35% fat content – this isn’t the time to skimp on richness. The fat content directly impacts both texture and flavor, creating that indulgent coating sensation on your palate.
Whole milk balances the richness while maintaining creaminess. The proteins in whole milk contribute to the smooth texture, while the additional water content prevents the finished product from becoming too dense.
Fresh egg yolks create the custard base that transforms simple cream into something extraordinary. Choose the freshest eggs possible – farm-fresh with bright orange yolks deliver superior flavor and richness. The lecithin in egg yolks acts as a natural emulsifier, preventing ice crystals and ensuring silky smoothness.
Pure vanilla extract enhances strawberry flavor without competing, while granulated sugar not only sweetens but also affects texture by lowering the freezing point, keeping your ice cream scoopable. For dietary adaptations, coconut cream can substitute for heavy cream, while maple syrup works beautifully in place of sugar.
Key Techniques and Method Mastery
Strawberry Preparation Technique: The secret to exceptional strawberry flavor lies in properly preparing your berries. Macerating – letting sliced strawberries sit with sugar – draws out natural juices while concentrating flavors. This process typically takes 30-45 minutes, during which the strawberries release their sweet juices and soften slightly. The resulting mixture provides both pure strawberry flavor and delightful fruit pieces.
Custard Base Creation: Making the perfect custard base requires patience and temperature control. The goal is heating egg yolks and cream to exactly 170°F – hot enough to pasteurize and thicken, but not so hot that the eggs scramble. This process, called tempering, involves gradually adding hot cream to beaten egg yolks while whisking constantly. The mixture is ready when it coats a spoon and you can draw a clean line through it with your finger.
Proper Chilling Method: Your custard base must be completely cold before churning – ideally chilled for at least 4 hours or overnight. This ensures the ice cream maker can work efficiently and prevents melting during the churning process. Many experienced ice cream makers place their mixing bowl in the freezer overnight alongside the custard base.
Churning Technique: Modern ice cream makers do most of the work, but timing matters. Most recipes churn for 20-25 minutes, but you’ll know it’s ready when the mixture has increased in volume and holds soft peaks when lifted with a spoon. Over-churning can create a grainy texture, while under-churning results in icy consistency.
Step-by-Step Strawberry Ice Cream Instructions
Step 1: Hull and slice 2 pounds of fresh strawberries, then toss with ¼ cup sugar in a large bowl. Let them macerate for 45 minutes, stirring occasionally. The berries will release gorgeous crimson juices and soften beautifully. Puree half the mixture for smooth strawberry flavor while reserving the rest for delightful chunks.
Step 2: In a heavy-bottomed saucepan, heat 2 cups heavy cream and 1 cup whole milk until small bubbles form around the edges – don’t let it boil. Meanwhile, whisk 6 egg yolks with ¾ cup sugar until pale and ribbony, about 3 minutes of vigorous whisking.
Step 3: Slowly drizzle the hot cream mixture into the egg yolks, whisking constantly to prevent scrambling. This tempering process is crucial – add the cream in a thin, steady stream while whisking vigorously. Return the entire mixture to the saucepan.
Step 4: Cook the custard over medium-low heat, stirring constantly with a wooden spoon, until it reaches 170°F and coats the spoon. This takes 8-12 minutes – don’t rush this step. The mixture should be thick enough that when you run your finger across the back of the spoon, it leaves a clear line.
Step 5: Immediately strain the custard through a fine-mesh sieve to remove any lumps, then stir in 2 teaspoons pure vanilla extract and your prepared strawberry mixture. The hot custard will warm the berries slightly, melding the flavors beautifully.
Step 6: Cool completely in the refrigerator for at least 4 hours or overnight. The colder your base, the better your ice cream will churn. When ready, churn according to your ice cream maker’s instructions, typically 20-25 minutes until thick and creamy.
Step 7: Transfer to an airtight container and freeze for at least 4 hours for firm scooping consistency. The ice cream will be soft-serve texture straight from the churner – perfect for immediate sampling!
Pro Tips and Troubleshooting Secrets
Pre-freeze your storage container: Place your final storage container in the freezer before you start cooking. This prevents the freshly churned ice cream from melting when transferred and helps achieve the perfect texture faster.
The spoon test never lies: Your custard is perfectly cooked when it coats a spoon and holds a clean finger line. Under-cooked custard won’t thicken properly, while overcooked custard becomes grainy and may curdle.
Strain everything: Always strain your finished custard base, even if it looks smooth. This removes any accidental lumps and ensures the silkiest possible texture in your finished ice cream.
Don’t skip the chill time: Rushing the cooling process results in poor texture and longer churning times. Cold bases churn more efficiently and create smaller ice crystals for smoother results.
Add mix-ins during final minutes: If you want additional strawberry pieces or other mix-ins, add them during the last 5 minutes of churning to prevent over-mixing and maintain their integrity.
Creative Variations and Customizations
Strawberry Balsamic: Add 1 tablespoon aged balsamic vinegar to your strawberry mixture for sophisticated depth that enhances the berry flavor beautifully.
Dairy-Free Version: Substitute coconut cream for heavy cream and coconut milk for dairy milk. The result is incredibly creamy with a subtle tropical note that complements strawberries perfectly.
Lower Sugar Option: Replace half the sugar with pure maple syrup or honey, adjusting to taste. These natural sweeteners add complexity while reducing refined sugar content.
Adult Version: Add 2 tablespoons strawberry liqueur or champagne during the final churning minutes for an elegant grown-up treat.
Storage and Make-Ahead Strategies
Optimal Storage Method: Store your finished ice cream in an airtight container with plastic wrap pressed directly onto the surface to prevent ice crystals. Properly stored homemade ice cream maintains peak quality for up to one month in the freezer.
Make-Ahead Timeline: The custard base can be prepared up to 3 days in advance and stored in the refrigerator. This actually improves flavor development, making advance preparation a smart strategy for entertaining.
Serving Temperature Tips: Remove ice cream from the freezer 5-10 minutes before serving for easiest scooping. If it becomes too hard, let it soften slightly rather than forcing it, which can create unwanted air bubbles.
Freezer Storage Best Practices: Store containers in the main freezer compartment rather than the door, where temperature fluctuates. Wrap containers in aluminum foil for extra protection against freezer burn during extended storage.
Serving Suggestions and Perfect Pairings
Classic Presentations: Serve in chilled bowls with fresh strawberry slices and a sprig of mint for elegant simplicity. Waffle cones add nostalgic charm, while elegant glass dishes showcase the beautiful pink color.
Gourmet Accompaniments: Pair with warm pound cake, buttery shortbread cookies, or crisp gingersnaps for textural contrast. A drizzle of aged balsamic reduction elevates this simple dessert to restaurant-quality sophistication.
Beverage Pairings: Complement with sparkling rosé, champagne, or even a light Moscato for adult gatherings. For family occasions, serve alongside fresh lemonade or sparkling water with strawberry garnish.
Complete Dessert Ideas: Create strawberry shortcake sundaes, use as filling for cream puffs, or layer in a trifle with fresh berries and whipped cream for show-stopping presentation.
Ready to create frozen magic in your own kitchen? This homemade strawberry ice cream recipe transforms peak-season berries into the most luxurious summer treat you’ve ever tasted. Gather your ingredients, dust off that ice cream maker, and prepare to fall in love with the pure, intense flavor that only comes from making it yourself. Your family will be talking about this incredible homemade strawberry ice cream for years to come.