Prep Time: 30 minutes/ Cook Time: 15 minutes/ Chill Time: 4 hours + overnight/Total Time: 6+ hours/Difficulty: Intermediate /Serves: 6-8 people
Table of Contents
The first time I attempted homemade burnt caramel ice cream, I nearly threw the entire batch away. The sugar had turned almost black, filling my kitchen with the acrid smell of what I was certain was failure. But my grandfather, who’d spent decades perfecting his own caramel recipes, encouraged me to taste it anyway. That first spoonful was a revelation – complex, sophisticated, with layers of flavor that danced between sweet and bitter in the most incredible way. The burnt edges weren’t a mistake; they were the secret to creating something extraordinary. Today, this homemade burnt caramel ice cream has become my signature dessert, and I’m thrilled to share every hard-learned lesson that transforms simple sugar into liquid gold. This isn’t just another ice cream recipe – it’s your gateway to mastering one of the most rewarding and impressive desserts you can make at home.
Why You’ll Love This Recipe
This homemade burnt caramel ice cream delivers a sophisticated flavor profile that you simply cannot buy in stores. The carefully controlled caramelization process creates layers of complexity – from sweet vanilla notes to deep, almost smoky undertones that make each spoonful an adventure. Unlike commercial ice creams that rely on artificial flavors, this recipe builds genuine burnt caramel character through traditional techniques that pastry chefs have used for generations.
What makes this recipe truly special is how it transforms your kitchen skills. Making perfect burnt caramel teaches you patience, temperature control, and the art of reading visual and aromatic cues that elevate all your future cooking adventures. The confidence you’ll gain from mastering this technique opens doors to countless other caramel-based desserts, from elegant tarts to show-stopping crème brûlée.
The homemade aspect means complete control over ingredients and sweetness levels, allowing you to create a premium dessert that rivals the finest ice cream parlors. Plus, there’s something deeply satisfying about creating this luxurious treat from scratch – the kind of accomplishment that makes you feel like a true culinary artist. Your family and friends will be amazed that something so restaurant-quality came from your own kitchen.
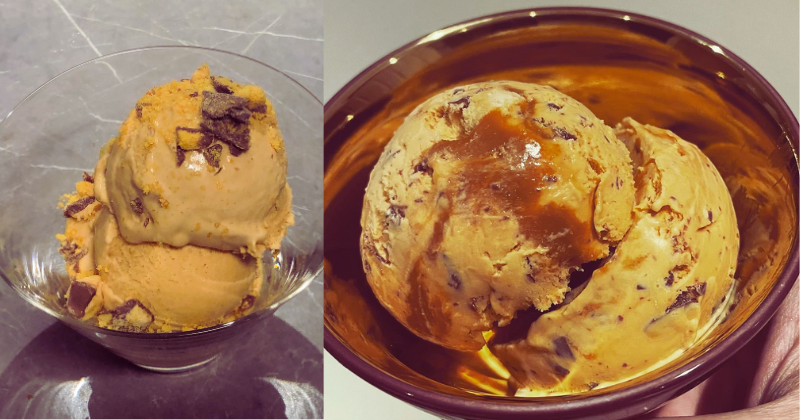
The visual appeal is absolutely stunning too. That beautiful amber-caramel color swirled throughout creamy vanilla base creates an Instagram-worthy dessert that’s as gorgeous as it is delicious. Every scoop tells the story of your dedication to craft and quality.
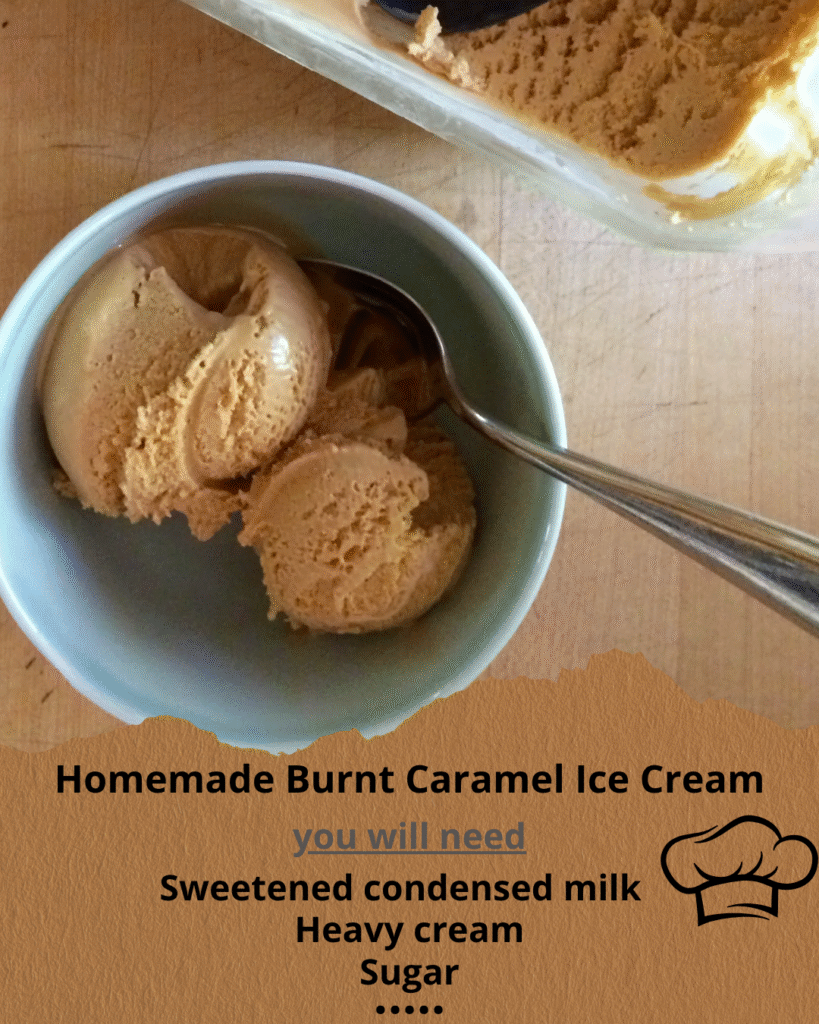
Ingredient Insights & Selection
The foundation of exceptional burnt caramel ice cream starts with premium ingredients, beginning with the sugar itself. Granulated white sugar works best for caramelization because it melts evenly and creates the cleanest flavor profile. Avoid brown sugar or alternatives for the caramel base, as they contain molasses that can interfere with the pure caramel development you’re seeking.
Heavy cream quality makes a tremendous difference in your final product. Look for cream with at least 35% fat content, and if possible, choose organic or local dairy for the richest, most luxurious texture. The cream not only provides the base for your ice cream but also stops the caramelization process, so having it ready and room temperature prevents crystallization when you add it to the hot caramel.
For the custard base, farm-fresh egg yolks create the silkiest texture and richest color. The eggs should be as fresh as possible – older eggs can create a slightly sulfurous taste that competes with your carefully crafted caramel. Whole milk provides the perfect balance of richness without overwhelming the delicate caramel flavors, though you can substitute with 2% milk if you prefer a lighter result.
Vanilla extract should be pure, not imitation, as the burnt caramel’s complexity deserves an equally sophisticated vanilla complement. A pinch of sea salt enhances all the flavors beautifully, but make sure it’s finely ground to distribute evenly throughout the mixture.
Key Techniques & Method Overview
Mastering burnt caramel requires understanding the stages of sugar caramelization, which happens gradually as sugar melts and transforms through different color phases. Start with a heavy-bottomed saucepan that distributes heat evenly, and resist the urge to stir once the sugar begins melting. Stirring can cause crystallization, creating a grainy texture that ruins the smooth caramel you’re working toward.
The key visual cue is color progression: the sugar will first melt and become clear, then gradually turn pale amber, then deeper amber, and finally reach that perfect burnt caramel stage when it’s dark amber with almost mahogany undertones. The aroma changes too – from sweet and light to rich and complex with slight smoky notes. This entire process typically takes 8-12 minutes over medium heat.
Temperature control becomes critical when combining the hot caramel with cream. The mixture will bubble violently and steam dramatically – this is completely normal but requires caution. Having your cream at room temperature helps prevent seizing, and adding it gradually while whisking constantly ensures smooth incorporation.
The custard-making technique requires patience and constant attention. You’re essentially creating a crème anglaise that coats the back of a spoon, which happens around 170-175°F. Going beyond this temperature risks curdling the eggs, so remove from heat as soon as you reach the proper consistency. The mixture should flow smoothly off your spoon but leave a clear line when you draw your finger across it.
Step-by-Step Instructions
- Prepare your setup: Measure 1 cup granulated sugar into a heavy-bottomed saucepan. Have 1 cup room-temperature heavy cream ready in a measuring cup, along with a whisk. Set up a fine-mesh strainer over a large bowl for later straining. This preparation prevents scrambling when the caramel reaches the critical moment.
- Create the burnt caramel: Place sugar in your saucepan over medium heat without stirring. Allow it to melt completely around the edges, then gently swirl the pan to redistribute unmelted sugar. Continue cooking until the caramel turns deep amber with mahogany undertones and releases a rich, slightly smoky aroma – about 10-12 minutes total.
- Add cream carefully: Remove from heat and immediately whisk in the room-temperature cream. The mixture will bubble vigorously and steam – this is normal. Whisk constantly until completely smooth and combined. If any hard caramel bits form, return to low heat briefly while whisking until dissolved.
- Prepare the custard base: In a separate bowl, whisk 6 large egg yolks until smooth. In another saucepan, heat 1 cup whole milk until just steaming. Gradually whisk about 1/4 of the hot milk into the egg yolks to temper them, then whisk this mixture back into the remaining milk.
- Combine and cook: Add the burnt caramel mixture to the custard base and cook over medium-low heat, stirring constantly with a wooden spoon or heat-resistant spatula. Cook until the mixture coats the back of your spoon and reaches 170°F, about 5-7 minutes. Don’t let it boil or the eggs will curdle.
- Strain and chill: Immediately strain the mixture through your fine-mesh strainer to remove any possible lumps. Stir in 1 teaspoon vanilla extract and a pinch of sea salt. Cover with plastic wrap directly touching the surface to prevent skin formation, and refrigerate until completely cold, at least 4 hours or overnight.
- Churn and freeze: Process in your ice cream maker according to manufacturer’s directions, usually 20-25 minutes. Transfer to an airtight container and freeze until firm, at least 4 hours before serving.
Pro Tips & Troubleshooting
The most common mistake is not taking the caramel dark enough – err on the side of too dark rather than too light for that signature burnt flavor. If your caramel seizes when adding cream, don’t panic. Return it to low heat and whisk patiently until the hard bits dissolve completely. This process might take several minutes but almost always resolves successfully.
For silky smooth texture, strain your finished custard twice if needed. Any small lumps will create an unpleasant grainy texture in the final ice cream. If your custard accidentally curdles, immediately blend it with an immersion blender or regular blender, then strain – this often saves the batch completely.
Temperature is everything when making custard. Use a digital thermometer for accuracy, and remember that carryover heat continues cooking even after removing from the stove. When in doubt, err on the side of undercooking – you can always return it to heat, but you can’t fix overcooked eggs.
For professional-level results, chill your custard overnight rather than just until cold. This extended chilling time allows flavors to meld and creates better texture during churning. Your patience will be rewarded with noticeably superior ice cream.
Variations & Customizations
Transform this base recipe into exciting variations that showcase different flavor profiles. Add 2 tablespoons bourbon or rum during the final chilling stage for an adult version with sophisticated depth. Swirl in homemade chocolate sauce or caramel ribbons just before the final freeze for a decadent twist that looks as impressive as it tastes.
For dietary adaptations, substitute the heavy cream and milk with full-fat coconut milk for a dairy-free version that maintains rich texture. The caramel technique remains identical, and coconut’s natural sweetness complements burnt caramel beautifully. For lower-fat options, use half-and-half instead of heavy cream, though the texture will be slightly less rich.
Create seasonal variations by incorporating complementary spices during the custard cooking phase. A pinch of cinnamon and nutmeg transforms this into a fall-inspired treat, while a few drops of orange extract create an elegant citrus note perfect for spring entertaining.
Storage, Reheating & Make-Ahead Tips
Proper storage maintains your homemade burnt caramel ice cream’s quality for up to two weeks in the freezer. Use an airtight container and press plastic wrap directly onto the ice cream surface before sealing to prevent ice crystals. For optimal texture, store in the main freezer compartment rather than the door, where temperature fluctuates.
The custard base can be prepared up to three days in advance and kept refrigerated until ready to churn. This make-ahead approach actually improves flavor development and makes entertaining much more manageable. Just give it a good whisk before churning to recombine any separated elements.
If your ice cream becomes too hard after extended freezing, let it soften at room temperature for 10-15 minutes before scooping. Alternatively, run your ice cream scoop under warm water between scoops for easier serving. Never microwave ice cream to soften it, as this creates uneven texture and can compromise the carefully developed flavors.
Serving Suggestions & Pairings
This sophisticated burnt caramel ice cream shines brightest when paired with desserts that complement rather than compete with its complex flavors. Serve alongside warm apple crisp or pear tart for a classic combination that highlights the caramel’s depth. The contrast between warm, spiced fruit and cold, creamy ice cream creates an unforgettable dessert experience.
For elegant presentation, garnish with homemade candied nuts, a drizzle of additional caramel sauce, or a sprinkle of flaky sea salt that enhances the burnt notes beautifully. Fresh berries add lovely color contrast and bright acidity that balances the rich sweetness perfectly.
Wine pairings elevate this dessert to restaurant-quality sophistication. A late-harvest Riesling or port-style wine complements the caramel’s complexity, while a rich bourbon or aged rum creates an indulgent adult dessert experience. For non-alcoholic options, serve with espresso or strong coffee that echoes the caramel’s roasted notes.
Ready to master the art of burnt caramel and create ice cream that rivals the finest dessert establishments? Gather your ingredients, embrace the process, and prepare to impress everyone with this show-stopping homemade burnt caramel ice cream that transforms simple ingredients into pure magic!