Prep Time: 30 minutes | Cook Time: 25 minutes | Chill Time: 4 hours | Total Time: 5 hours | Serves: 8-10 | Difficulty: Intermediate
Table of Contents
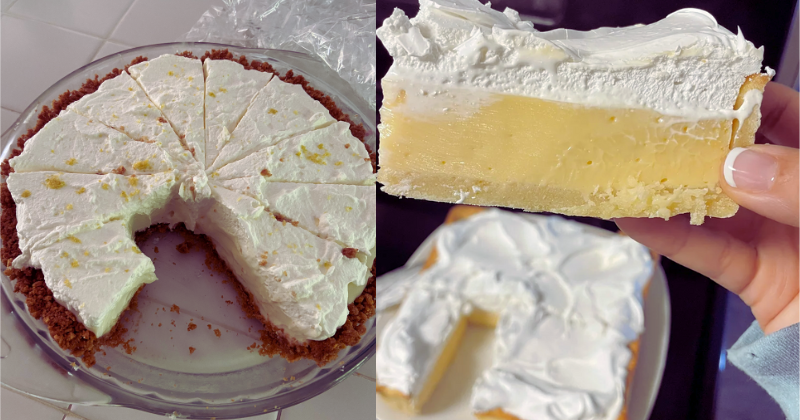
The first time I made lemon cream pie from scratch, I was sixteen and desperately trying to impress my boyfriend’s family at their annual summer barbecue. I’ll never forget the moment his grandmother took that first bite – her eyes widened, she paused mid-chew, and then proclaimed it was better than her own mother’s recipe. That golden, silky lemon cream pie became my signature dessert, and over the years, I’ve perfected every detail from the buttery graham cracker crust to the cloud-like whipped cream topping.
There’s something absolutely magical about a perfectly crafted lemon cream pie – that perfect balance of tart and sweet, the contrast between the crisp crust and velvety filling, and the way each bite delivers a burst of sunshine that can brighten even the gloomiest day. This homemade lemon cream pie recipe captures all of that magic and more, creating a dessert that’s both elegant enough for special occasions and comforting enough for everyday indulgence.
Why You’ll Love This Lemon Cream Pie Recipe
Incredibly Smooth and Silky Texture: This isn’t your average pudding-pie hybrid. The secret lies in the careful tempering technique and constant whisking that creates a custard-like filling so smooth it practically melts on your tongue. Every bite delivers that luxurious mouthfeel that makes homemade pies so superior to store-bought versions.
Perfect Balance of Sweet and Tart: After years of testing, I’ve discovered the ideal ratio of fresh lemon juice to sugar that creates bright, zesty flavor without being puckering-sour or cloyingly sweet. The filling tastes like concentrated sunshine – vibrant and refreshing with just enough sweetness to make you crave another slice.
Make-Ahead Friendly for Easy Entertaining: This lemon cream pie actually improves with time, making it perfect for dinner parties and family gatherings. The flavors develop beautifully overnight, and the texture becomes even more luxurious after proper chilling. You can prepare it completely up to two days in advance.
Customizable for Every Preference: Whether you prefer a traditional graham cracker crust or want to try a buttery pastry shell, this recipe adapts beautifully. The filling works equally well with Meyer lemons for a sweeter profile or regular lemons for classic tartness, and you can adjust the sweetness to suit your family’s taste.
Impressive Yet Achievable: While this pie looks and tastes like something from a high-end bakery, it requires no special equipment or advanced techniques. With basic kitchen skills and attention to detail, you’ll create a stunning dessert that will have everyone asking for your secret.
Ingredient Insights & Smart Selection Tips
Fresh lemons are absolutely crucial for achieving that bright, vibrant flavor that makes this pie extraordinary. You’ll need about 4-5 large lemons to get ¾ cup of fresh juice plus zest. Choose lemons that feel heavy for their size and have smooth, unblemished skin – they’ll yield more juice and better flavor than older, wrinkled fruit.
High-quality eggs make a significant difference in both color and richness. Look for eggs with deep orange yolks, which create that gorgeous golden color and rich flavor. Room temperature eggs incorporate more easily into the custard, preventing lumps and ensuring smooth texture.
Unsalted butter allows you to control the salt content precisely, and European-style butter with higher fat content creates an even more luxurious mouthfeel. Always use unsalted in desserts unless specifically called for otherwise.
For the graham cracker crust, choose crackers that taste good on their own – avoid overly processed varieties. If you’re making pastry crust instead, use all-purpose flour with a protein content around 10-12% for the perfect tender yet sturdy base that won’t become soggy.
Heavy cream for the topping should be very cold and at least 35% fat content for best whipping results. Avoid ultra-pasteurized cream when possible, as it doesn’t whip as well and has a slightly different flavor profile.
Key Techniques & Method Overview
Proper Custard Technique is the foundation of exceptional lemon cream pie. The key lies in gradual temperature control – whisking constantly while slowly adding hot mixture to beaten eggs prevents curdling and creates that silky-smooth texture. Never rush this step, as scrambled eggs in your pie filling are nearly impossible to fix.
Zest Before Juicing is a crucial timing technique that many home bakers overlook. Always zest your lemons before cutting and juicing them – it’s nearly impossible to zest a juiced lemon half effectively. Use a microplane grater for the finest zest that distributes evenly throughout the filling.
Creating the Perfect Crust Foundation involves more than just pressing crumbs into a pan. Whether using graham crackers or pastry, the crust needs to be properly pre-baked and cooled completely before adding filling. This prevents sogginess and ensures clean slices when serving.
Temperature Control Throughout affects every aspect of this pie’s success. The filling needs to reach exactly 160°F to properly thicken and set, the crust must be completely cool before filling, and the finished pie requires proper chilling time for clean slicing and optimal flavor development.
Step-by-Step Instructions
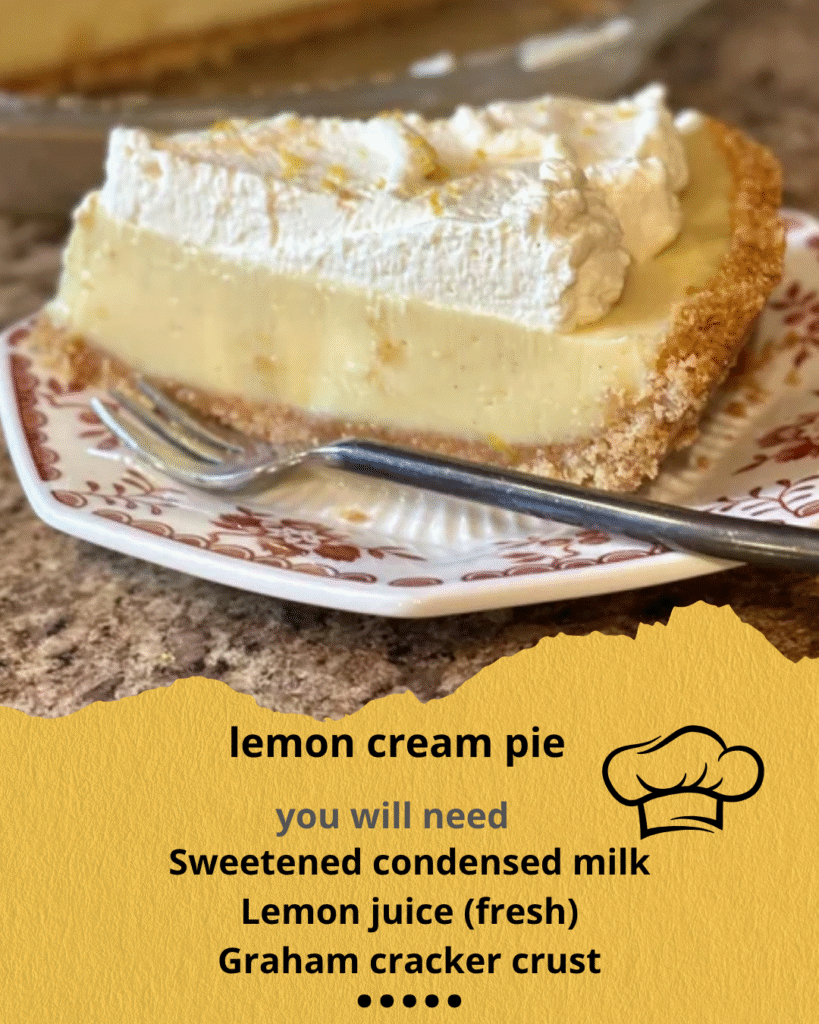
- Prepare your crust by crushing 1½ cups graham crackers into fine crumbs (you should hear them breaking down evenly). Mix with ⅓ cup melted butter and 2 tablespoons sugar until mixture holds together when squeezed. Press firmly into a 9-inch pie pan, creating even thickness throughout. Bake at 350°F for 10 minutes until lightly golden and fragrant. Cool completely.
- Zest and juice 4-5 fresh lemons to yield 1 tablespoon zest and ¾ cup juice. Strain the juice to remove pulp and seeds – you want pure, smooth liquid for the silkiest filling texture.
- Create your custard base by whisking together ¾ cup sugar, ⅓ cup cornstarch, and ¼ teaspoon salt in a heavy-bottomed saucepan. The mixture should be completely smooth with no lumps visible.
- Heat the liquid components by gradually whisking in 2 cups whole milk until smooth, then add lemon juice and zest. Cook over medium heat, whisking constantly, until mixture thickens and bubbles actively – this takes about 8-10 minutes and you’ll notice it coating your whisk.
- Temper the egg yolks by beating 4 large yolks in a separate bowl. Slowly drizzle about ½ cup of the hot lemon mixture into the yolks while whisking vigorously – this prevents the eggs from scrambling. The mixture should remain smooth and glossy.
- Complete the custard by returning the tempered mixture to the saucepan and cooking for 2-3 additional minutes, whisking constantly, until it reaches 160°F on an instant-read thermometer. Remove from heat and immediately whisk in 3 tablespoons butter until fully incorporated and shiny.
- Assemble and chill: Pour the hot filling directly into your cooled crust, smoothing the top with an offset spatula. Press plastic wrap directly onto the surface to prevent skin formation. Refrigerate for at least 4 hours or overnight until completely set and sliceable.
Pro Tips & Troubleshooting for Perfect Results
Prevent curdled custard by maintaining constant motion with your whisk and never letting the mixture boil vigorously. If you see any lumps forming, immediately remove from heat and whisk vigorously, or strain the mixture through a fine-mesh sieve.
Achieve perfect consistency by cooking the custard until it coats your whisk thickly and holds its shape when dropped from a spoon. Under-cooked filling won’t set properly, while over-cooked filling becomes grainy and unpleasant.
Eliminate weeping (liquid separating from the filling) by ensuring your cornstarch is completely dissolved before heating and cooking to the proper temperature. Always press plastic wrap directly onto the custard surface to prevent condensation.
Create clean slices by using a sharp knife dipped in warm water and wiped clean between cuts. This prevents the filling from sticking to the blade and creates professional-looking portions.
Fix over-thick filling by whisking in additional milk, one tablespoon at a time, while the custard is still warm. If the filling is too thin, cook an additional 1-2 minutes while whisking constantly.
Delicious Variations & Creative Customizations
Transform this classic by trying Meyer lemon cream pie for a sweeter, more floral flavor profile, or create lime cream pie using the same technique with fresh lime juice and zest for a tropical twist. Orange cream pie works beautifully with fresh orange juice and a touch of Grand Marnier for adults-only gatherings.
Crust variations include traditional pastry crust for a more elegant presentation, chocolate cookie crust for extra indulgence, or even a shortbread cookie crust for added richness. Dietary adaptations work well with coconut milk substituted for dairy milk and coconut cream for whipped topping.
Seasonal enhancements might include fresh berry garnishes in summer, candied lemon slices for special occasions, or a drizzle of lemon curd for extra intensity. Portion control versions work beautifully in individual tart shells or mason jars for party presentations.
Storage, Make-Ahead & Serving Tips
Store your finished lemon cream pie covered in the refrigerator for up to 4 days, though it’s at its absolute peak within the first 48 hours. The texture remains creamy and sliceable, while flavors continue to develop and meld beautifully.
Make-ahead preparation is one of this pie’s greatest advantages – you can prepare it completely 1-2 days before serving, making it perfect for entertaining. Never freeze cream pies, as the custard texture becomes grainy and unpleasant when thawed.
Whipped cream topping should be added just before serving for best texture and appearance, though you can prepare stabilized whipped cream up to 4 hours in advance if needed.
Serving Suggestions & Perfect Pairings
Serve generous slices topped with fresh whipped cream and a sprinkle of lemon zest for classic presentation, or add fresh berries for color and complementary flavors. This pie pairs beautifully with strong coffee or black tea, and makes an elegant ending to both casual family dinners and formal dinner parties.
Seasonal serving ideas include pairing with grilled stone fruits in summer, alongside pumpkin desserts in fall for variety, or as a bright contrast to rich holiday meals. Beverage pairings work wonderfully with champagne for celebrations, iced tea for casual gatherings, or dessert wines for sophisticated affairs.
This timeless lemon cream pie recipe proves that some desserts never go out of style. The combination of bright citrus flavor, silky smooth texture, and impressive presentation makes it a show-stopper that’s surprisingly achievable for home bakers. Whether you’re celebrating a special occasion or simply craving a slice of sunshine, this pie delivers pure joy in every single bite. Start gathering your ingredients today – your family and friends are about to discover their new favorite dessert!